
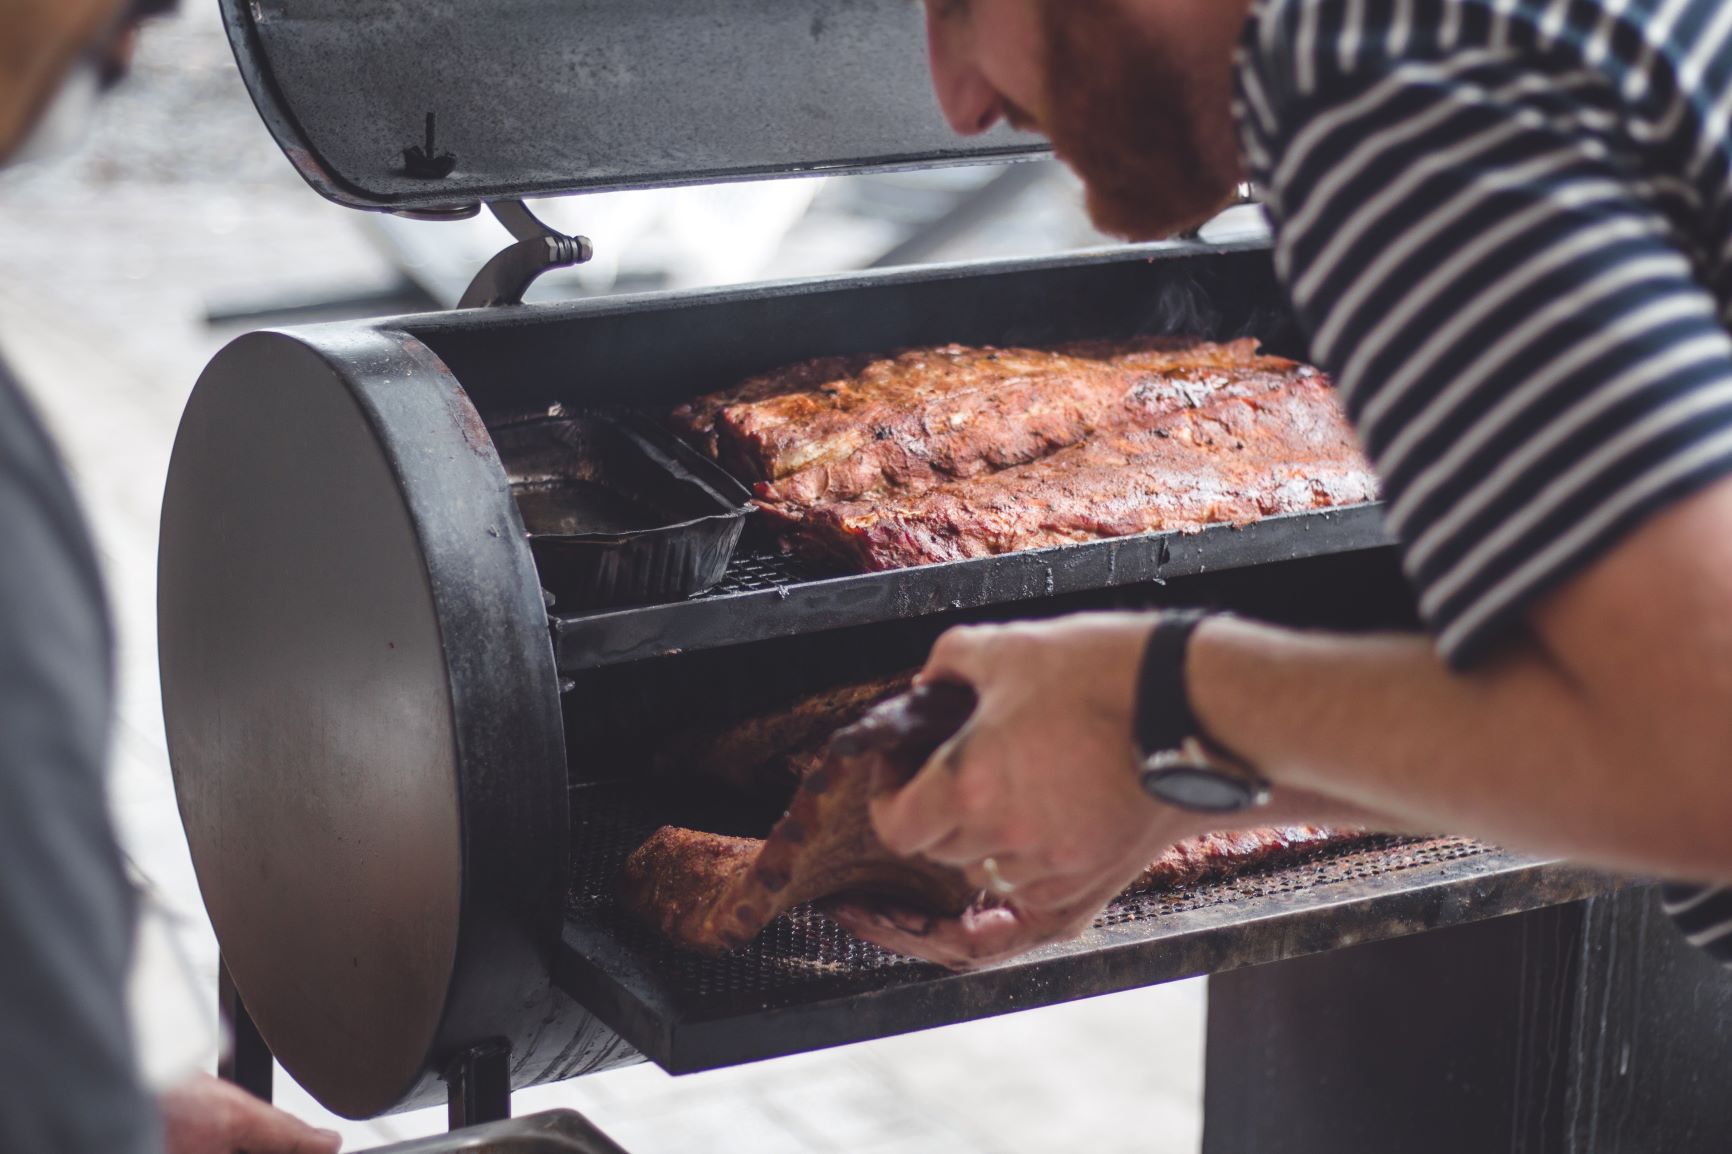
There are many online recipes that will teach you how to grill squash. First, prepare the squash. The first step is to cut the squash in half. Next, remove the seeds. Next, butter the squash insides. Then, grill the squash for 15 to 20 minutes. Then, turn the slices around to cook the second side.
Prepare a marinade for grilled squash. Mix together white wine vinegar, lemon juice, fresh herbs, garlic and olive oil. Pour the marinade on top of the squash. Let the marinade sit for approximately 2 hours before storing it in the fridge. While the squash is marinating, you can grill it over the coals, brushing it with oil as necessary. After you have done this, you are ready to start cooking.
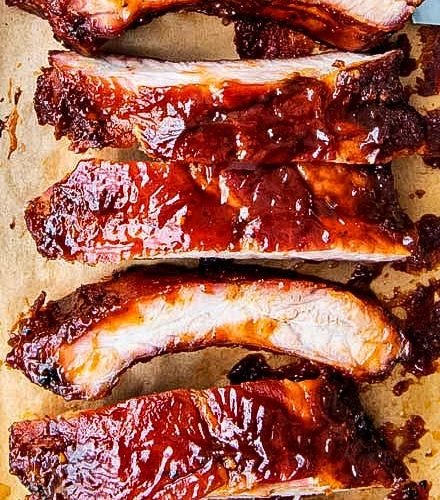
This recipe calls for a whole clove of garlic. For one minute, heat it in a microwave. It should be softened. Garnish the squash with this garlic butter. For an even more flavorful experience, sprinkle the garlic butter with chopped herbs and Parmesan cheese. Once it's done, remove the squash from the grill and enjoy. The squash will keep for several days in the fridge. You can make the best recipe by preparing it in advance, during season.
The squash can be prepared once the marinade is done. Grilling the squash will add a charred, delicious flavor to the dish. You can then season the squash with herbs or spices and place it on the griddle. If you want to achieve the most stunning result, cut the squash into quarters. Then place the squash on a skewer with water soaked. Once the skewers are still damp, you can add generous amounts of olive oil to each slice of squash. A griddle must be large enough to hold the zucchini slices.
For grilled squash, you can use a variety of methods. You can either place it on the grill or bake it in the oven. In either case, it must be evenly cooked. For grilling squash, the skewer can be a useful tool. The knife must be sharp enough to insert the stem into the grate. The skewer must be long enough that it can slide into the griddle.
Summer squash are best grilled directly in their skins. You can use a skewer to grill them. A skewer is an essential component of a grilled squash. Additional vegetables can be added to the squash. You can also cut summer squash in quarters. Winter squash should be cut into quarters and microwaved in small pieces before grilling. A zucchini can be grilled as an alternative to the skewer.
FAQ
Is there a difference between a chef and a cook?
A chef cooks for others. A cook prepares the food for oneself. Although both jobs require you to prepare food, a chef is more involved in serving customers. This means that they can have to decide what food to serve customers based their preferences. A cook doesn't need to interact with clients. Instead, he or she ensures that the food tastes good before serving it to anyone.
Can you learn to cook on your own?
Yes, you can be a self-taught cook! Everyone loves cooking, regardless of whether they are skilled or not. If you're interested in learning how cook at home, then start cooking. Start small, such as making pancakes for breakfast and spaghetti sauce at dinner. It is important to experiment with new recipes to learn how to cook. It's possible that you will make mistakes.
The time it takes to learn to cook can vary from just a few hours up to several weeks, depending upon your skill level. It's important to remember that cooking isn't just about following recipes. There are many methods to prepare food.
How can I learn to cook like the pros?
Cooking is one of the best ways to become a better person. Learning to cook healthy food for yourself and others is a great way to increase self-confidence and develop new skills. If you want to be able to cook well, then start cooking at home. First, find out which recipes appeal to you. Read books about various foods such as Chinese, Mexican, and Italian. Finally, try making different dishes until it becomes second nature.
Statistics
- In the United States, the category is estimated at $23.2 billion annually and is growing faster than the market. (washingtonpost.com)
- You'll be amazed that over 90% of CIA students receive scholarships and grants to finish their culinary studies. (ischoolconnect.com)
- According to the BLS, chefs earn $58,740 a year. (learnhowtobecome.org)
External Links
How To
How to make the perfect omelet
Omelets are a favorite breakfast food of mine. How do you make them perfect? I've tried many recipes and different methods but none have worked. So I am sharing some tips and tricks today to help you make fluffy, delicious omelets every morning.
We should first know that eggs are very temperamental ingredients when making omelets. You must get them fresh, organically, and keep them cold until you cook. If you don't keep them cold enough, the whites won't form properly, and the yolks will break down too much and become runny. This will make your omelets appear strangely colored. If you're going to cook them immediately, it is best if the eggs are still warm.
You can also separate the egg before you add it to the pan. The yolk and white should not be mixed together as this can cause the omelet's curdle.
The egg can burn if it is placed directly on the stovetop. Instead, microwave the egg for 10 seconds before adding it to the pan. The microwave heat will cook the egg just right without making it too hot.
Let's now talk about mixing eggs. When you mix eggs together, you want to beat them well. To do this, grab the bowl of the mixer and turn it upside down. Next, shake the bowl vigorously. This will whip the air around the bowl and mix the egg well.
The fun part begins - you need to pour the milk into your mixture. Mix half of the milk with the eggs. Then fold the eggs in half into the remaining milk. If you still see streaks of eggs, don't worry. These streaks will disappear once the omelet has been turned over.
After you have folded the eggs, heat the oil in a pan over medium heat. Once the oil has started to sizzle, turn the heat down to low. Add 1/4 cup butter to the oil and swirl it around to coat all sides of the pan. The lid should be carefully opened. Sprinkle salt in the pan. An additional pinch of salt will prevent the omelet form sticking to your pan.
Once the omelet forms, cover the pan again. Let the top side set completely. Use a spatula to flip the omelet or turn the pan upside-down. Cook the other half for another minute. Remove the omelet from the pan and serve immediately.
This recipe works best with whole milk, but skimmed milk also works.